Why Proper Removal Is Important
Removing press-on nails incorrectly can weaken and damage your natural nails. Remove Press-On Nails Safely and Easily with the right technique to keep your nails strong, healthy, and ready for your next manicure.
What You’ll Need for the Removal Process
Essential Tools
- Acetone or nail polish remover
- Warm water
- Small bowl

- Cuticle stick or orange stick
- Soft towel
- Nail file
Optional Products for Nail Care
- Cuticle oil
- Hand cream or moisturizer
- Nail buffer
Step-by-Step Guide to Removing Press-On Nails
Step 1: Preparing Your Nails
Start by setting up a clean and comfortable space to work in. Have all your tools ready before beginning the removal process.
Step 2: Soak Your Nails
Fill a bowl with warm water and a few drops of gentle soap. Soak your hands for 10–15 minutes to soften the adhesive.
Step 3: Loosen the Adhesive
If the press-ons are still stuck, dip a cotton ball in acetone or nail polish remover and gently rub it over the edges to help break down the glue.
Step 4: Lift the Edges Carefully
Use your fingernail or a cuticle stick to gently lift the edges of the press-on nail. Avoid pulling or forcing it off, as this can damage your natural nail.
Step 5: Remove the Nails Safely
Slide the cuticle stick under the press-on nail and wiggle it gently. Continue working around the nail until it comes off completely.
Step 6: Clean Off Residue
After removing all the nails, use a soft cloth and some acetone to wipe away any leftover adhesive.
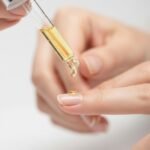
Step 7: Hydrate and Moisturize
Apply cuticle oil to nourish your nail bed and finish with a hydrating hand cream to restore moisture.
Common Mistakes to Avoid
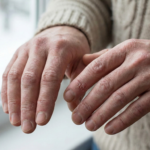
1. Pulling or Peeling Off the Nails
Forcing press-on nails off can strip away layers of your natural nail, leading to damage and thinning.
2. Skipping Nail Care After Removal
After removal, nails need hydration and strengthening treatments to maintain their health.
Tips for Reapplying Press-On Nails
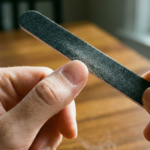
1. Prepare Your Natural Nails
Buff and clean your nails before applying new press-ons to ensure better adhesion.
2. Choose the Right Adhesive
Select a high-quality nail glue that provides a strong hold without being too harsh on removal.
3. Give Your Nails a Break
Let your natural nails breathe for a few days between applications to prevent excessive wear.
Why Press-On Nails Are a Great Choice
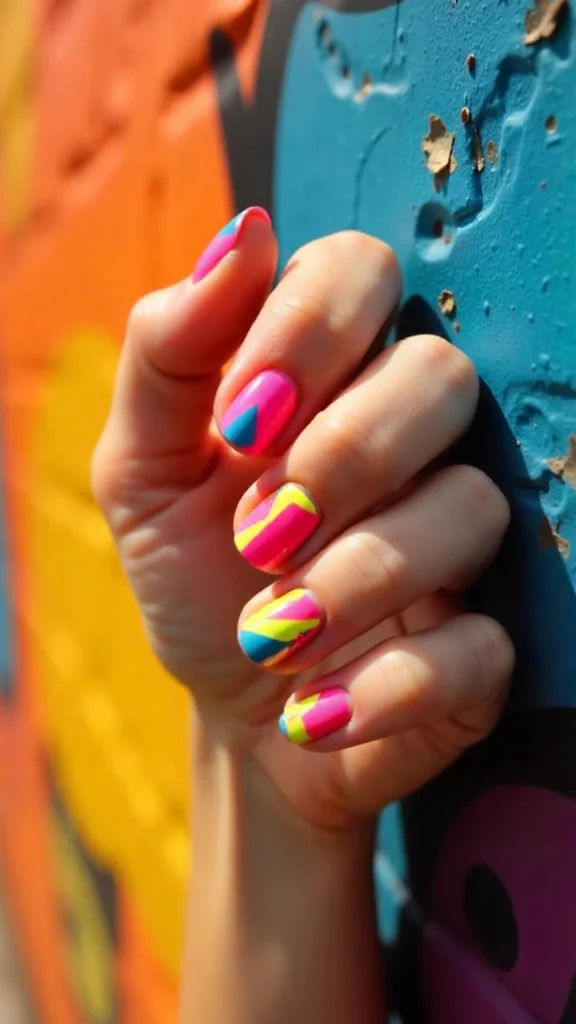
Convenience and Style
Press-on nails offer salon-quality looks without the hassle and cost of professional manicures.
Affordable and Reusable
With proper removal, press-on nails can be reused, making them a budget-friendly beauty option.
Conclusion
Taking off press-on nails doesn’t have to be stressful. By following these easy steps, you can remove press-on nails safely and easily while keeping your natural nails healthy. With proper care and hydration, your nails will stay strong and beautiful, ready for your next manicure!
FAQs
1. Can I reuse press-on nails?
Yes! If removed carefully, press-on nails can be cleaned and reused.
2. How long should I soak my nails?
Soak them for 10–15 minutes to loosen the adhesive properly.
3. What if my press-ons won’t come off?
Use more acetone and repeat the soaking process patiently.
4. Are press-on nails safe for natural nails?
Yes, as long as they are applied and removed properly.
5. How often can I wear press-on nails?
You can wear them frequently, but allow breaks in between to maintain nail health.