How do you do a smokey eye? To do a smokey eye, you must layer three shades: a light base, a medium transition, and a dark “smoke” shade. First, apply a primer. Next, blend the medium shade into your crease. Then, pat the dark shade onto your outer corner. Finally, smudge your liner and blend until smooth. Mastering this look is the best way to add drama to your gaze.
Why Trust Our Expert Method?
To begin with, we prioritize your safety. To do a smokey eye safely, you must follow medical advice. Experts at the Mayo Clinic and Johns Hopkins Medicine warn that old makeup can cause infections.
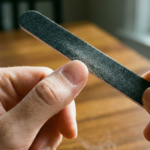
- Expert Tip: Professional makeup artists suggest cleaning your brushes every week to avoid bacteria.
- Eye Safety: Always use safe products for the smokey eye look.
- Freshness: Toss out old mascara before you do a smokey eye.
Step 1: The Essential Professional Toolkit

Next, gather your gear. To do a smokey eye like a pro, you need tools that blend for you. You do not need expensive brands, but you do need the right shapes.
| Tool Category | Must-Have Item | Pro Benefit |
| Primer | Eye Shadow Primer | Prevents creasing and holds color. |
| Brushes | Fluffy Blending Brush | Blurs lines for a soft finish. |
| Eyeshadow | Matte & Shimmer Palette | Adds depth and a pop of light. |
| Liner | Kohl or Gel Pencil | Defines the eye shape. |
| Safety | Hypoallergenic Wipes | Cleans “fallout” without irritation. |
Step 2: Prepare a Flawless Canvas
Moving forward, prep is the most vital step. Without it, your look will fade.
- Cleanse: Start with clean, oil-free eyelids.
- Apply Primer: Use a tiny dot of primer. This ensures that when you do a smokey eye, the pigment stays vibrant.
- Set with Powder: Dust a light, neutral shadow from your lash line to your brow. This allows your brushes to glide easily.
Step 3: Mastering the Transition Shade
Additionally, you must build a “base of depth.” This prevents the dark colors from looking like a bruise.
The Perfect Crease Technique
- The Color: Choose a warm tan or soft mauve.
- The Placement: Apply this to your crease.
- The Motion: Use “windshield wiper” motions. Keep the color soft. This is the secret to how to create a smokey eye that looks expensive.
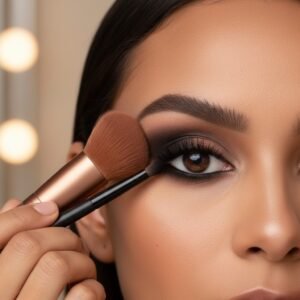
Step 4: Adding the Smoke (How to Smokey Eyeshadow)
Furthermore, it is time for the drama. This is where you truly do a smokey eye.
- Outer-V Placement: Take your darkest shadow. Pat it onto the outer third of your lid.
- Circular Blending: Use a clean, fluffy brush. Move it in small circles to blend the dark color into your transition shade.
- Layering: If you want more drama, add a second layer of dark shadow. Always blend after you add color.
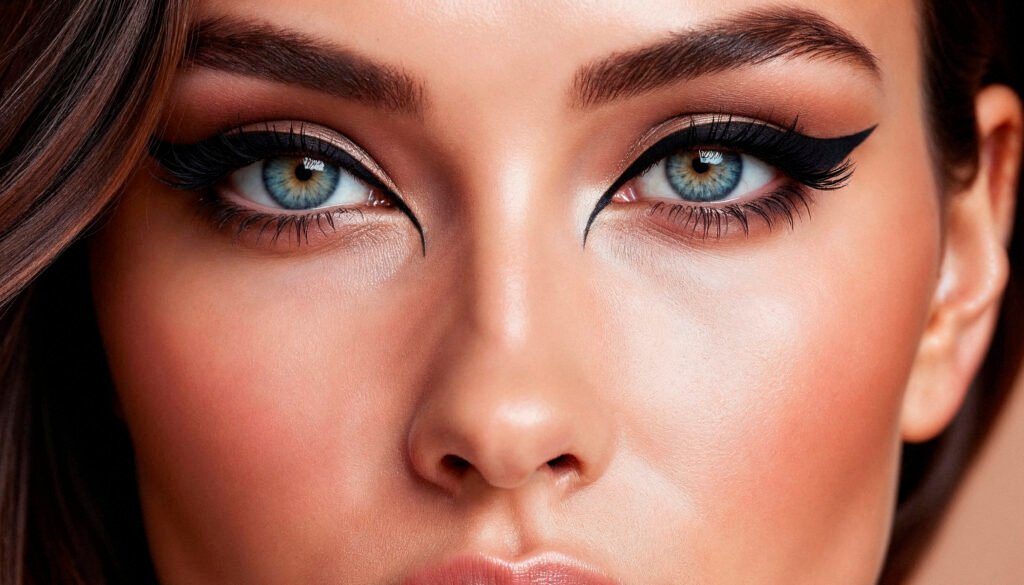
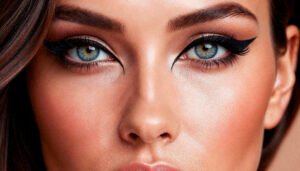
A closer look at the precision required for a seamless and sultry eye makeup finish.
Step 5: Tailoring the Look to Your Eye Shape
In addition, every eye is unique. To do a smokey eye that fits, you must adjust your technique.
Specialized Shapes for Every Gaze
- Hooded Eyes: Keep your eyes open while you blend. This ensures the color stays visible.
- Almond Eyes: Focus the dark smoke on the outer edges to create a “lifted” look.
- Round Eyes: Blend the shadow outward toward your temples to elongate your eyes.
- Small Eyes: Use a bright shimmer on the inner corners to open them up.
Step 6: Define, Smudge, and Finish
Next, add the final touches to your smokey eye look.
- The Liner: Trace your top lash line with a black pencil.
- The Smudge: Use a small pencil brush to blur the liner. This creates a sultry, hazy effect.
- The Lashes: Apply two coats of black mascara. Wiggle the wand from the root to the tip for volume.
Watch this professional tutorial to see these steps in action:
Step 7: The Pro Clean-Up
Finally, ensure your look is polished.
- Wipe Away: Use a cotton swab to remove any fallen powder from your cheeks.
- Brighten: Apply a bit of concealer under your eyes to hide dark circles.
- Lock It: Use a setting spray to keep your work in place all night long.
Frequently Asked Questions (FAQ)
How do you do a smokey eye for beginners?
Essentially, use three shades: light, medium, and dark. Apply the light shade as a base. Put the medium in the crease. Finish with the dark on the outer corner. Blend until smooth.
Is it safe to do a smokey eye if I have sensitive eyes?
Actually, yes. Experts at Johns Hopkins suggest using cream-based shadows or “clean beauty” brands to avoid irritation. Always remove your makeup before bed.
Conclusion
In summary, learning how to do a smokey eye is all about practice and blending. By using the right tools and following professional techniques, you can achieve a stunning look at home. Remember to start with a good primer and build your colors slowly to avoid a mess. Now that you know how to do a smokey eye, you are ready to shine at any event. Grab your brushes and start creating your masterpiece today!